Setting Up Your Bot
There are two main steps to deploying a bot to Rasa Platform:
- Training and making models available to the Platform’s Rasa Core and Rasa NLU containers.
- Creating a docker container where all your actions will be executed
This page explains the steps for initializing Rasa Platform with your Rasa NLU and Core models so that you can start using your bot. Once this is done, set up your Custom Actions.
Add NLU data and train a model
The training data in the Platform should be considered the master copy of your training data. Navigate to the NLU Training page by clicking on ‘NLU Training’ in the left nav bar. Select the ‘Training Data’ tab and click on the upload icon in the top right (underneath the train button).
Once your model has finished training, select the Model Config tab and add your Rasa NLU configuration yaml.
Now hit the ‘Train’ button and after a short time you will have a trained NLU model.
To see your model, navigate to the ‘Models’ page using the left nav bar.
Activate your model by clicking on the ‘make active’ button on your new model.
Add a Rasa Core Model
Once you have trained your model locally, navigate into the folder containing it (for
example models/dialogue) and create a zip file called my_model.zip with
$ zip -r my_model.zip *
The next step is to send the model to Rasa Platform. If your Platform runs at https://platform-example.com/, the command looks like this:
$ curl -F "model=@my_model.zip" https://platform-example.com/api/projects/default/models/core?api_token=<TOKEN>
You can find your api_token in the example curl command in the https://rasa.example.com/data/training-data view.
If the upload is successful, your model will show up in the core models view at https://rasa.example.com/models/core-models, where you can mark it as active. Marking the model as active means that it will be used by Rasa Core.
Add your bot responses:
To add your bot responses, click on the icon on Responses icon on the left nav bar. Add the templates defined in your domain file using the UI. Modifying these will now instantly update your bot responses without retraining your Rasa Core model.
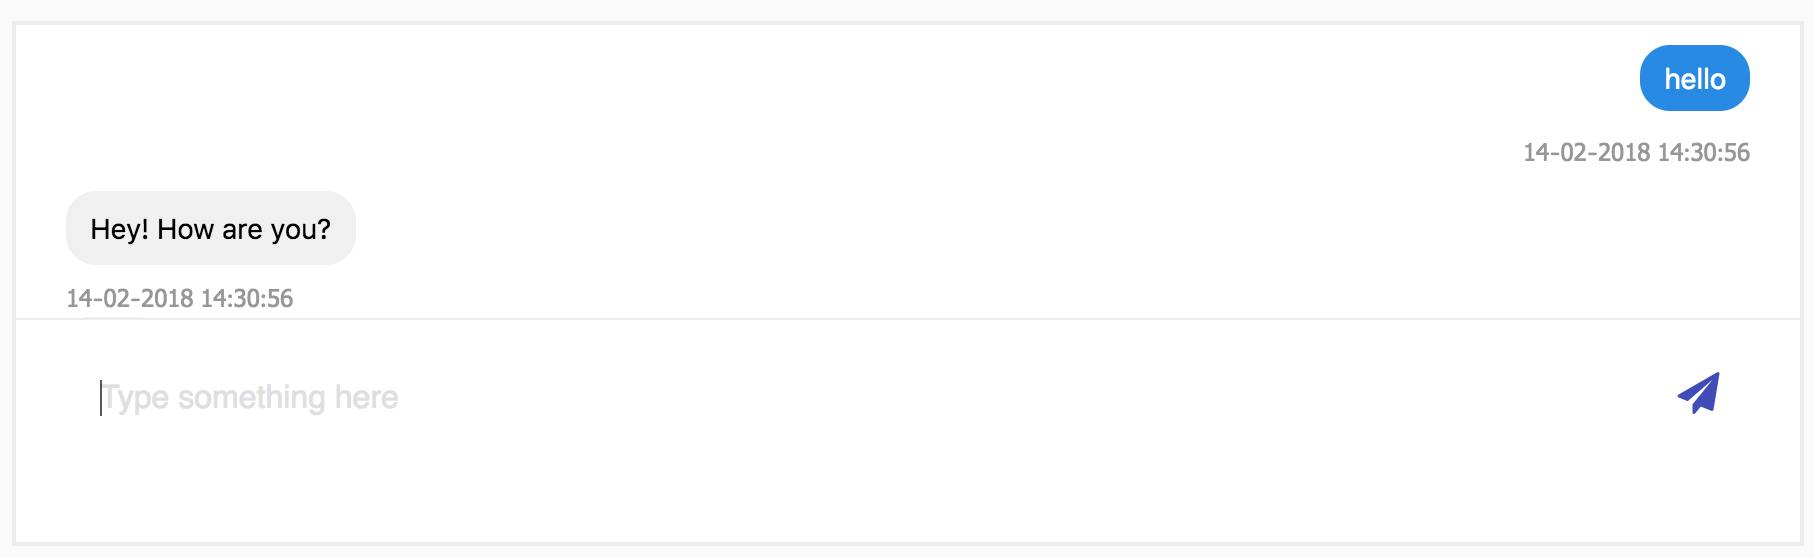
Try out your bot!
Click on the conversations icon in the left nav bar, there you should see a chat interface similar to the one below.
Add Additional Input/Output Channels
By default, Rasa Core is configured to listen to the RasaChat channel, which is used in the /conversations view.
To configure additional input channels, edit the credentials.yml file passed to Rasa Core.
This is saved at /etc/rasaplatform/credentials.yml. See the Rasa Core docs for details.